Heat Transfer Vinyl
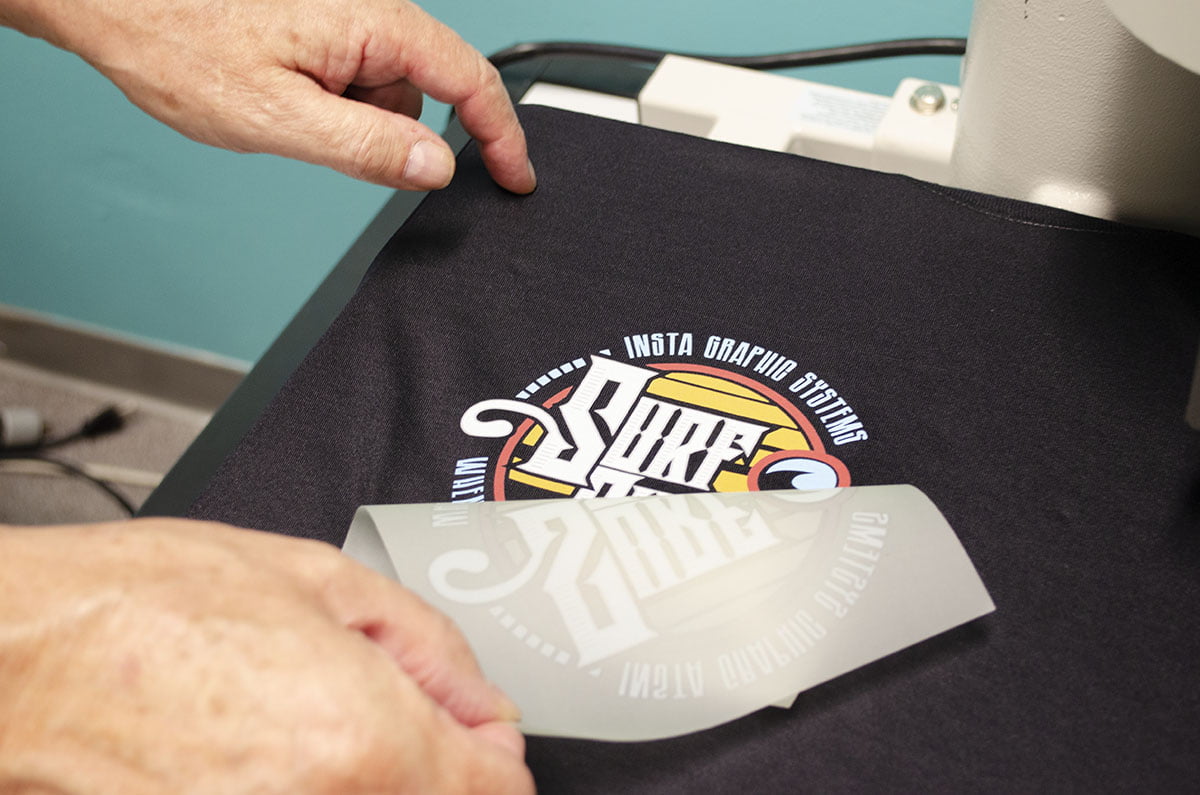
Heat Transfer Vinyl (HTV) is a type of method which uses heat-resistant, single-color material to print on clothing. It comes in the form of a roll or flat sheet. It contains a heat-activated adhesive backing which allows it to permanently transfer to a garment when heat pressed with sufficient time, temperature, and pressure. HTV is cut, weeded, and then heat pressed onto fabric, making it a popular method for decorating or personalizing T-shirts, garments, and other fabric items. It is long lasting, dense, and durable. You can often see this printing method on jerseys.
This is a great printing solution for low batch orders as there are no minimums with HTV. We can print on most fabrics with this method and the color of the print remains vibrant and dense.
Heat Transfer Vinyl
Heat transfer vinyl (HTV) is a popular material used to personalize garments, accessories, and other fabric items. It allows you to create custom designs and apply them to various surfaces using heat. Here are the general steps involved in using heat transfer vinyl:
-
Design: Start by creating or choosing a design for your project. You can use design software or online platforms to create your own design or select pre-made designs.
-
Mirror image: Before cutting the vinyl, it’s important to mirror or flip the design horizontally. This step is necessary because the vinyl is placed face-down during the transfer process, and reversing the design ensures that it appears correctly when applied.
-
Cutting: Load the heat transfer vinyl into a vinyl cutter or plotter, following the manufacturer’s instructions. Set the appropriate cutting settings such as blade depth and pressure, which may vary depending on the vinyl and the cutter being used. Then, let the cutter cut out your design.
-
Weeding: Once the design has been cut, remove the excess vinyl from around the design using a weeding tool or tweezers. Be careful not to damage or lift the parts of the design you want to transfer.
-
Preparing the surface: Prepare the surface where you plan to apply the HTV. If it’s a garment, make sure it’s clean, dry, and free from any wrinkles. Pre-wash and dry the garment to remove any residues or sizing that might interfere with the adhesive.
-
Placement: Position the weeded design on the surface, making sure it’s centered and aligned correctly. Use heat-resistant tape to secure it in place, especially for larger designs or intricate placements.
-
Heat press: Set up a heat press machine according to the manufacturer’s instructions. The temperature and time settings may vary depending on the vinyl and the fabric you’re using. Typically, HTV requires a heat press temperature between 300-325°F (150-160°C) and a pressing time of around 10-15 seconds.
-
Transfer: Once the heat press is at the desired temperature, carefully place the garment or item with the vinyl design facing down onto the heat press platen. Close the heat press and apply firm, even pressure. Ensure that the vinyl adheres to the surface properly.
-
Peel: After the pressing time is complete, open the heat press and allow the vinyl to cool down slightly. Then, remove the garment or item from the heat press. While the vinyl is still warm, carefully peel off the carrier sheet or backing paper from the design. If any parts of the design lift with the carrier sheet, lower the garment back onto the heat press and apply more pressure for a few seconds.
-
Cooling and final inspection: Let the garment or item cool completely before handling or wearing it. Once cooled, inspect the design for any loose edges or areas that didn’t adhere properly. If needed, you can use a heat-resistant cover sheet and apply additional heat and pressure to fix any issues.
Following these steps will help you achieve successful results when working with heat transfer vinyl. Always refer to the specific instructions provided by the manufacturer of the HTV and the heat press machine you are using, as the settings and techniques can vary.
Our Customers
24 Hour Online Support
Get a Quick Quote
